The Easy Way To Frame Your Cross Stitch In An Embroidery Hoop
This is the easiest way I've found to frame your cross stitch in an embroidery hoop. I like this method because there's no extra sewing involved and you probably already have all of the supplies you need. It also allows you to hang your cross stitch up with the inside hoop resting on the nail instead of on the screw, which makes your hoop sit flush against the wall.
What you need
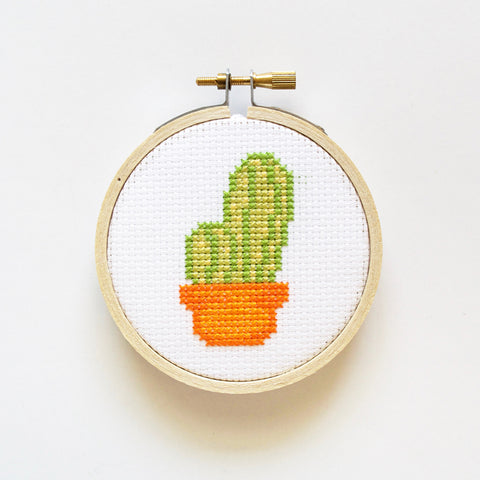
- Finished cross stitch
- Embroidery hoop
- White cardstock
- Scissors
- Glue gun
- Pen or pencil
- Iron and gentle detergent if your cross stitch needs some TLC before framing


- Wash and iron your finished cross stitch if it needs it.
- While the fabric is out of the hoop, use the inside of the inner part of the hoop to trace a circle on your cardstock.
- Recenter your cross stitch in the hoop and secure it.
- Cut out the circle you traced and use it to cover the backside of your hoop. Now no one will know how messy it looks!
- Trim the extra aida cloth leaving an about 1/2 inch extra border around the hoop.
- Fold in the edges of the aida cloth around the inner hoop to act as a guide for when you glue it.
- Working in sections, hot glue the inside of the inner embroidery hoop and press your extra aida cloth into it.
- This should keep the cardstock in place as well. If your cardstock backing still moves around, use a dot or two of glue to secure it to the extra aida cloth.